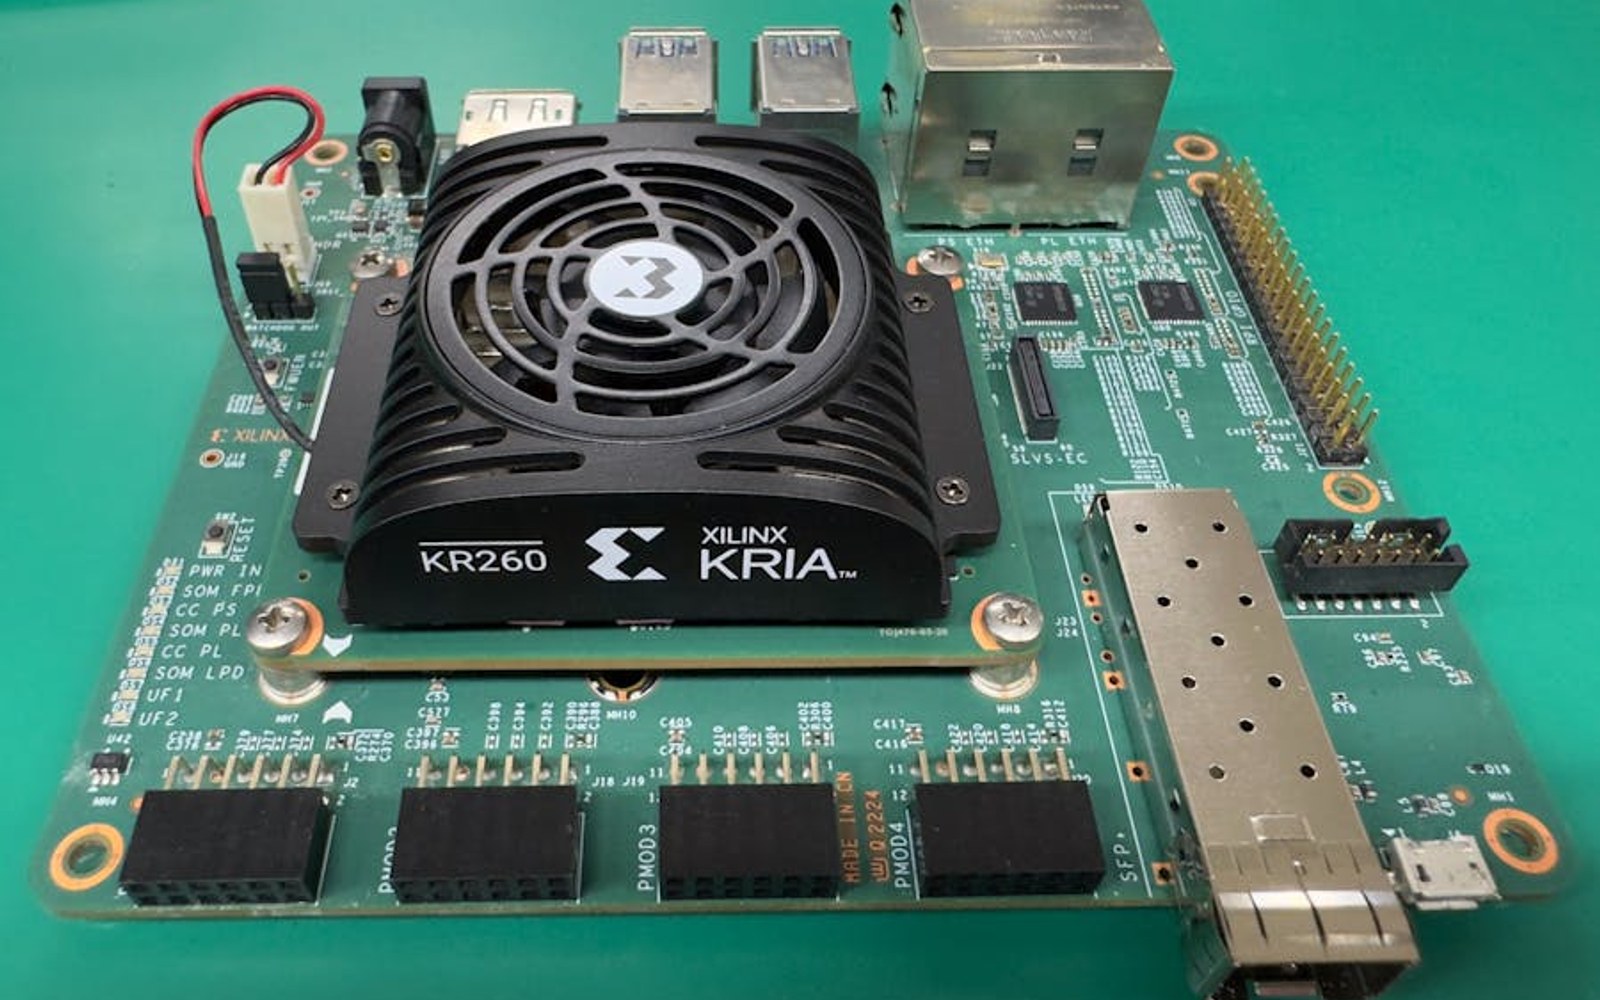
Building a custom Linux image for an FPGA-based robotics platform involves more than running a single build command. The PetaLinux tools, board support package, host environment, boot components, and deployment media all need to agree.
This EdgeIntelLab edition adapts my original Hackster guide. The maintained command reference is also available in the GitHub repository.
What the workflow produces
The process creates a custom PetaLinux 2024.2 system for the AMD Kria KR260 Robotics Starter Kit. The final outputs support:
- board-specific Linux customization;
- root filesystem and kernel configuration;
- firmware and package selection;
- Vitis application development through an exported SDK/sysroot;
- SD-card deployment to the target board.
Keep the tool and BSP versions aligned
Download the PetaLinux installer and KR260 board support package from AMD. Both must use the same release version. This guide uses 2024.2.
Mixing a PetaLinux installation from one release with a BSP from another is a common source of avoidable build failures.
Prepare the Linux host
First confirm that the host meets AMD’s requirements for PetaLinux 2024.2. Then enable the 32-bit package architecture required by parts of the toolchain:
sudo dpkg --add-architecture i386Configure the system shell when required by the selected host distribution:
sudo dpkg-reconfigure dashAdd the development user to the serial-device group:
sudo adduser "$USER" dialoutLog out and back in before relying on the new group membership.
Configure TFTP
Install the TFTP packages:
sudo apt install tftpd-hpa tftpConfigure /etc/default/tftpd-hpa:
TFTP_USERNAME="tftp"
TFTP_DIRECTORY="/var/lib/tftpboot"
TFTP_ADDRESS="0.0.0.0:69"
TFTP_OPTIONS="--secure"
Create the directory and restart the service:
sudo mkdir -p /var/lib/tftpboot
sudo chown -R tftp:tftp /var/lib/tftpboot
sudo systemctl restart tftpd-hpa
sudo systemctl enable tftpd-hpa
Use narrowly scoped permissions for a persistent or shared development machine. World-writable TFTP directories can be convenient during troubleshooting but should not be the production default.
Install and activate PetaLinux
Run the PetaLinux installer according to AMD’s host installation guide. If installation stops because a library is unavailable, use the console output to identify and install the missing host package.
Before using PetaLinux commands in a new terminal, source the environment script from the installation directory:
source /opt/pkg/petalinux/2024.2/settings.shAdjust the path to match the local installation.
Create the KR260 project
Initialize the project from the downloaded BSP:
petalinux-create \
  -t project \
  --name kr260_project \
  --template zynqMP \
  --bsp KRIA_BSP.bsp

cd kr260_project
Using the board BSP provides the hardware and platform defaults needed to start from a known KR260 configuration.
Customize the system
PetaLinux exposes separate configuration surfaces for the project, kernel, and root filesystem:
petalinux-config
petalinux-config -c kernel
petalinux-config -c rootfs
Use these interfaces to select packages, tune kernel features, update firmware choices, and prepare the image for the applications that will run on the board.
Keep custom changes documented. A reproducible configuration is more valuable than a one-off image that can only be rebuilt on one workstation.
Build the system image
Start the full build:
petalinux-buildPlan for a long-running operation. Build time depends on the host CPU, storage performance, cache state, and network connectivity. Ensure the build volume has enough free space before starting.
If a remote fetch times out, inspect the error before retrying. Re-running can recover from transient network failures, but repeated failure at the same recipe usually indicates a configuration or dependency problem.
Export the SDK and sysroot
Generate the software development kit after the main build succeeds:
petalinux-build --sdkThe SDK provides the cross-development environment and target sysroot needed for Vitis or other cross-compiled applications.
Package the boot image
Package the platform boot components:
petalinux-package \
  --boot \
  --fsbl <path_to_fsbl.elf> \
  --u-boot \
  --kernel
The exact component paths depend on the platform configuration and generated artifacts. Verify the resulting BOOT.BIN, image.ub, and related files before writing the deployment media.
Boot the KR260
Copy the generated boot files to a correctly prepared SD card, insert it into the KR260, connect the serial console, and power on the board.
The serial output is the first place to investigate when the target does not boot. It can reveal missing boot components, device-tree problems, storage errors, or failures during kernel initialization.
Practical checklist
- Use matching PetaLinux and BSP release versions.
- Confirm the supported host operating system and required packages.
- Keep sufficient build-disk capacity available.
- Record every root filesystem and kernel customization.
- Preserve the build configuration alongside application source.
- Test serial access before diagnosing target boot failures.
- Export the SDK from the same build used for deployment.
Conclusion
A successful KR260 custom OS build is a pipeline: prepare the host, initialize from the BSP, configure the platform, build the Linux image, export the development sysroot, package the boot artifacts, and validate on hardware.
Once this foundation is repeatable, the KR260 can support deeper robotics and FPGA acceleration work without treating the operating system as an opaque dependency.