Introduction
In the previous lesson, we connected the ESP32 to WiFi. Now we will use that connection to build a simple web server.
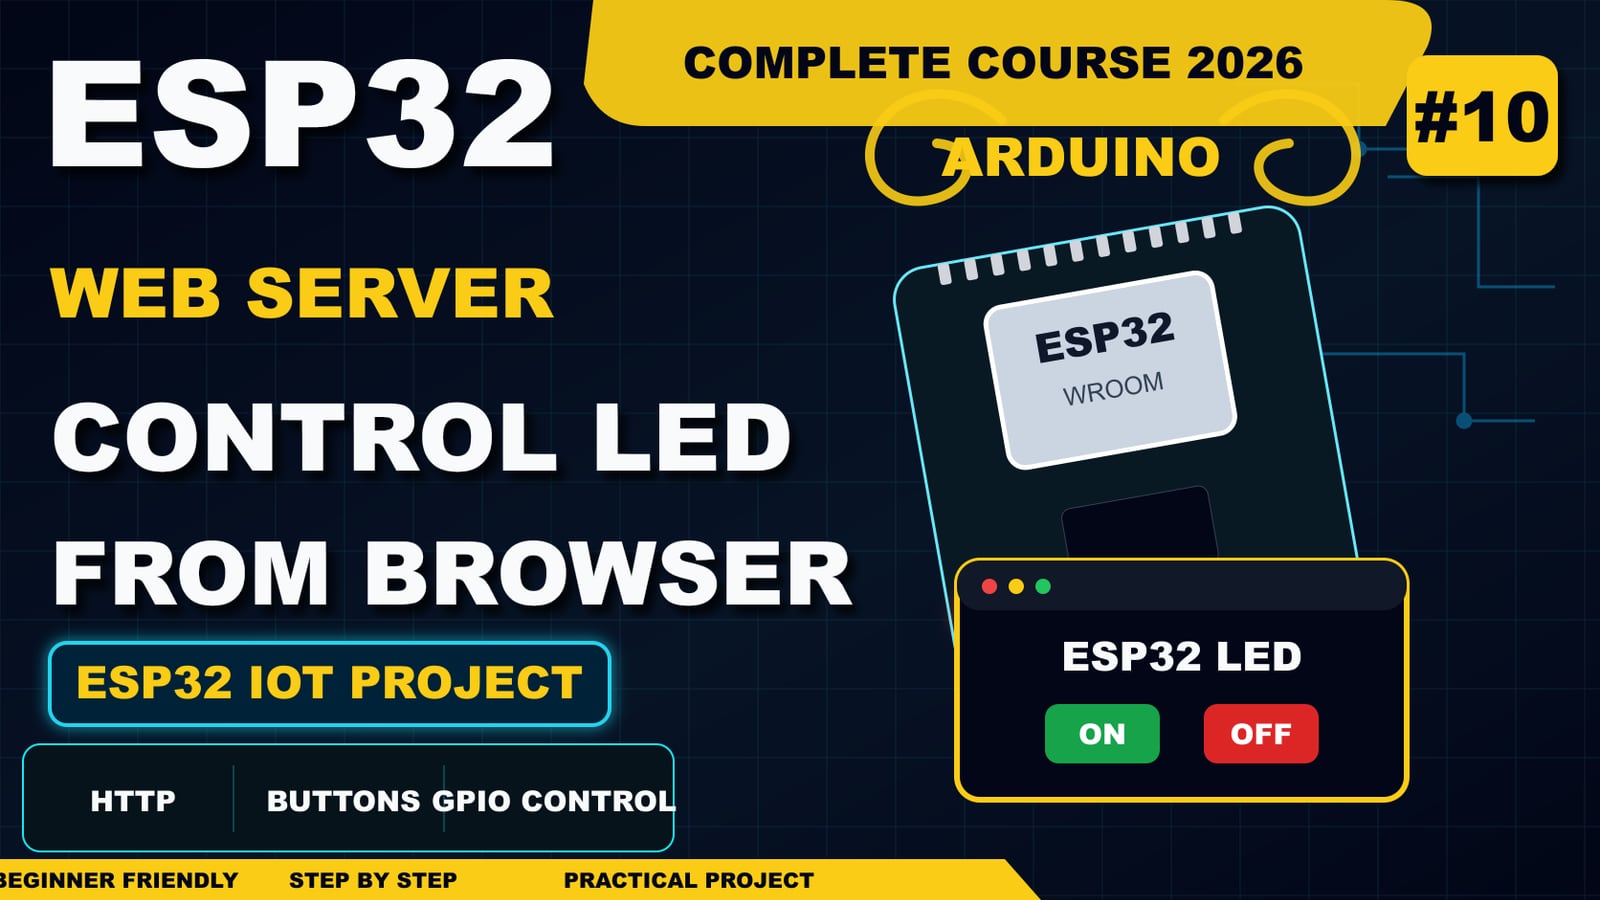
By the end of this project, you will open the ESP32 IP address in a browser and control an LED with ON and OFF buttons.
This is where the ESP32 starts to feel like a real IoT device.
What you will learn
By the end of this tutorial, you should understand:
- What a local web server is
- How the ESP32 can host a simple web page
- How a browser sends requests
- How to create ON and OFF routes
- How to control a GPIO pin from a web page
- How to use the ESP32 IP address
- Common web server troubleshooting steps
What is a web server?
A web server is a device or program that responds to browser requests.
Usually, we think of web servers as large computers on the internet. But the ESP32 can also host a small web page on your local network.
The basic flow is:
Browser -> request -> ESP32
Browser <- web page <- ESP32
When your browser opens the ESP32 IP address, the ESP32 sends back HTML.
Project routes
This project uses three simple routes:
/       -> show the control page
/on     -> turn the LED on
/off    -> turn the LED off
The buttons on the web page are just links to /on and /off.
Hardware required
- ESP32 DevKit
- LED
- 220 ohm resistor
- Breadboard
- Jumper wires
- USB cable
- WiFi network
Wiring
Use the same LED circuit from the GPIO lesson:
GPIO2 -> LED -> 220 ohm resistor -> GNDSource code
Replace the WiFi name and password with your network details.
#include <WiFi.h>

const char* ssid = "YOUR_WIFI_NAME";
const char* password = "YOUR_WIFI_PASSWORD";

WiFiServer server(80);

const int ledPin = 2;
bool ledState = false;

void setup()
{
    Serial.begin(115200);

    pinMode(ledPin, OUTPUT);
    digitalWrite(ledPin, LOW);

    WiFi.begin(ssid, password);
    Serial.print("Connecting to WiFi");

    while (WiFi.status() != WL_CONNECTED)
    {
        delay(500);
        Serial.print(".");
    }

    Serial.println();
    Serial.println("WiFi connected");
    Serial.print("Open this address: http://");
    Serial.println(WiFi.localIP());

    server.begin();
}

void loop()
{
    WiFiClient client = server.available();

    if (!client)
    {
        return;
    }

    String request = client.readStringUntil('\r');
    client.flush();

    if (request.indexOf("GET /on") >= 0)
    {
        ledState = true;
        digitalWrite(ledPin, HIGH);
    }

    if (request.indexOf("GET /off") >= 0)
    {
        ledState = false;
        digitalWrite(ledPin, LOW);
    }

    client.println("HTTP/1.1 200 OK");
    client.println("Content-Type: text/html");
    client.println("Connection: close");
    client.println();

    client.println("<!DOCTYPE html><html>");
    client.println("<head>");
    client.println("<meta name='viewport' content='width=device-width, initial-scale=1'>");
    client.println("<style>");
    client.println("body{font-family:Arial;text-align:center;padding:40px;}");
    client.println("button{font-size:24px;padding:16px 32px;margin:10px;}");
    client.println("</style>");
    client.println("</head>");
    client.println("<body>");
    client.println("<h1>ESP32 LED Control</h1>");
    client.print("<p>LED is ");
    client.print(ledState ? "ON" : "OFF");
    client.println("</p>");
    client.println("<a href='/on'><button>ON</button></a>");
    client.println("<a href='/off'><button>OFF</button></a>");
    client.println("</body></html>");

    delay(1);
    client.stop();
}
Code explanation
The WiFi library connects the ESP32 to the network:
#include <WiFi.h>The server is created on port 80:
WiFiServer server(80);Port 80 is the normal port for HTTP web pages.
In setup(), the ESP32 connects to WiFi and prints its IP address:
Serial.println(WiFi.localIP());Then the web server starts:
server.begin();In loop(), the ESP32 checks whether a browser has connected:
WiFiClient client = server.available();If the request contains /on, the LED turns on:
if (request.indexOf("GET /on") >= 0)If the request contains /off, the LED turns off:
if (request.indexOf("GET /off") >= 0)Finally, the ESP32 sends a simple HTML page back to the browser.
Upload and test
- Upload the sketch
- Open Serial Monitor at
115200baud - Wait for the IP address
- Open a browser on a device connected to the same WiFi network
- Type the ESP32 IP address
- Click ON and OFF
If everything is correct, the LED should respond to the browser buttons.
Common mistakes
If the browser cannot open the page:
- Make sure the computer or phone is on the same WiFi network
- Check the IP address carefully
- Check that the ESP32 is connected to WiFi
- Try pressing the ESP32 reset button and reading the IP address again
If the page opens but the LED does not change:
- Check LED polarity
- Check the resistor connection
- Check the GPIO number in code
- Make sure the LED circuit uses GND from the ESP32
Real engineering use cases
This simple project is the foundation for:
- Smart home control panels
- Local sensor dashboards
- WiFi relay controllers
- Device configuration pages
- Browser-based robot control
- IoT prototypes
The same pattern can be expanded with better HTML, CSS, JavaScript, sensor values, authentication, and cloud communication.
Engineering challenge
Add a third route called /blink that blinks the LED three times.
Then add a new button to the web page:
<a href="/blink"><button>BLINK</button></a>This will help you practice reading browser requests and connecting them to hardware behavior.
Next lesson
After this point, the series can move into displays, dashboards, MQTT, sensors, actuators, and complete IoT projects. You now have the core building blocks: GPIO, input, PWM, ADC, sensors, debugging, WiFi, and a web server.