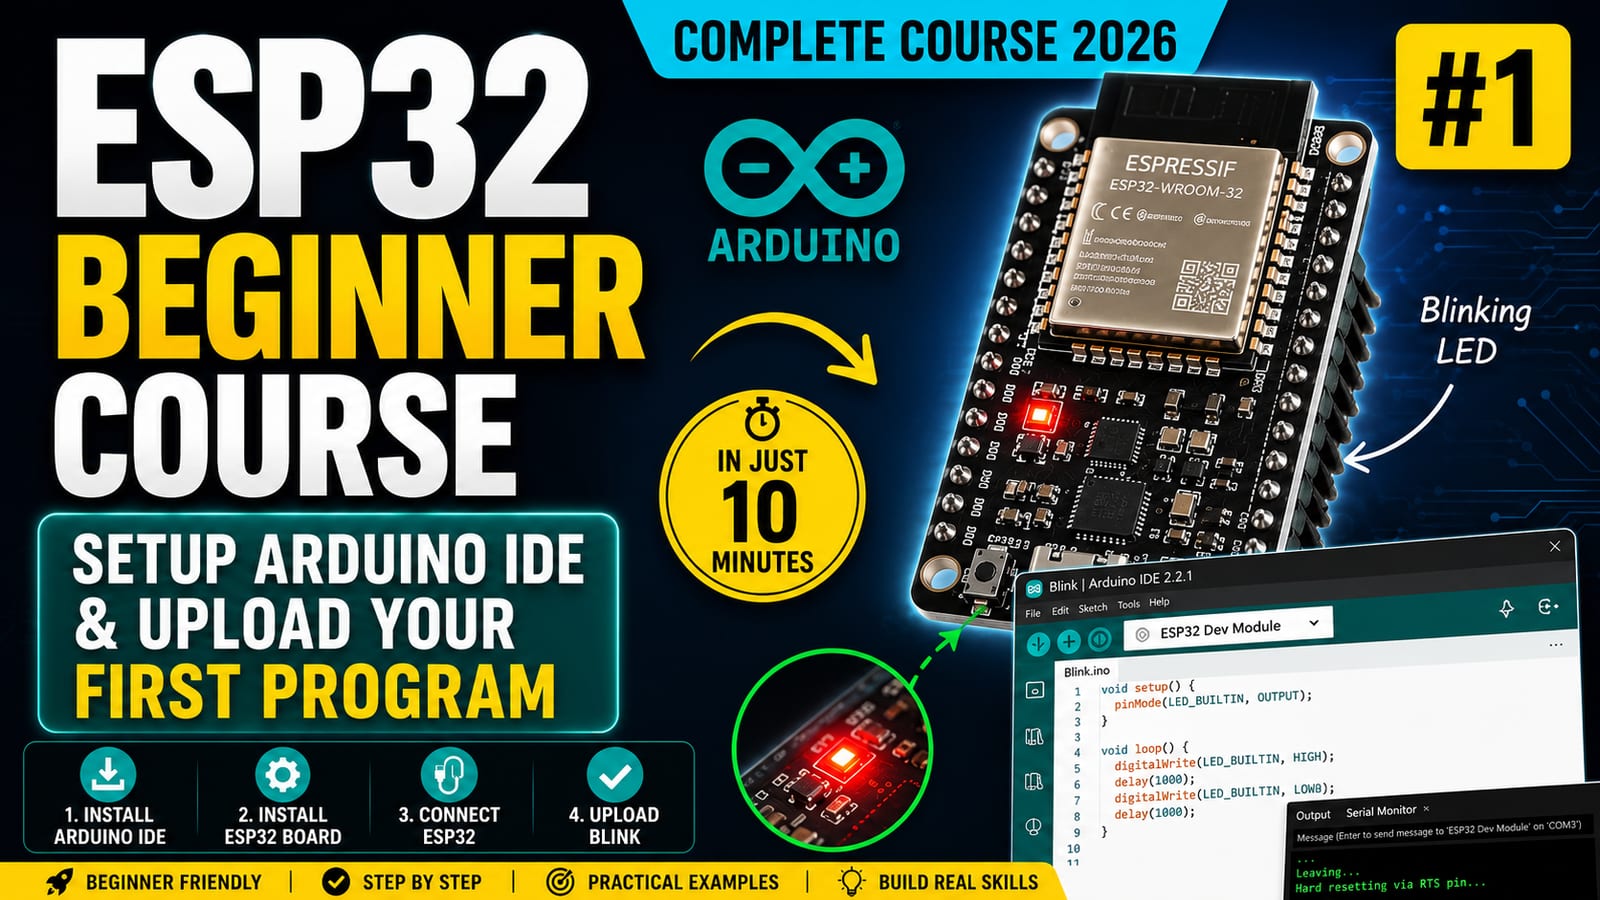
Introduction
The ESP32 is one of the best boards for learning modern embedded systems because it gives you a real microcontroller, wireless connectivity, plenty of GPIO pins, and an approachable programming workflow. In this first lesson, the goal is simple: install the tools, connect the board, and upload the first program.
That first upload matters. Once you can reliably move code from your computer into the ESP32, every later lesson becomes easier. GPIO, sensors, WiFi, PWM, serial debugging, and IoT projects all depend on this basic workflow.
What you will learn
By the end of this tutorial, you should understand:
- What the ESP32 is
- Why it is useful for embedded and IoT projects
- How to install Arduino IDE
- How to add ESP32 board support
- How to select an ESP32 board and serial port
- How to upload the Blink example
- How to solve common first-upload problems
What is the ESP32?
The ESP32 is a low-cost microcontroller family developed by Espressif Systems. Unlike a desktop computer, a microcontroller is designed to run one focused program that interacts directly with hardware.
The ESP32 is popular because it includes:
- Built-in WiFi
- Built-in Bluetooth
- Many GPIO pins
- Timers, PWM, ADC, SPI, I2C, UART, and other peripherals
- More processing power and memory than many beginner boards
This makes it useful for home automation, robotics, sensor nodes, wireless control systems, data logging, and industrial prototypes.
Hardware required
For this first lesson, you only need:
- ESP32 development board
- USB cable that supports data transfer
- Computer running Windows, Linux, or macOS
- Arduino IDE
The USB cable is more important than beginners expect. Some cables are charge-only and cannot transfer data. If the board powers on but never appears as a serial port, test a different cable first.
Install Arduino IDE
Download Arduino IDE from the official Arduino website and install it for your operating system. After installation, open Arduino IDE once so it can create its settings folders.
Arduino IDE gives us:
- A code editor
- Board and library management
- A compiler toolchain
- Upload tools
- Serial Monitor for debugging
By default, Arduino IDE supports classic Arduino boards. The ESP32 needs an additional board package.
Install ESP32 board support
Open Arduino IDE preferences and add the ESP32 boards manager URL from Espressif. Then open Boards Manager, search for esp32, and install the package provided by Espressif Systems.
After installation, Arduino IDE knows how to compile code for ESP32 boards and how to upload firmware to them.
Select the board and port
Connect the ESP32 to your computer using the USB cable. In Arduino IDE, choose the correct board from the board menu. For many development boards, ESP32 Dev Module is a good starting point.
Then select the serial port assigned to the board.
On Windows, this usually appears as a COM port. On Linux and macOS, it usually appears as a /dev/tty... device.
Upload the Blink example
Arduino IDE includes a simple Blink example. Blink turns an LED on and off repeatedly. Some ESP32 boards have a built-in LED connected to GPIO2, while others may use a different pin or may not include a built-in LED.
The basic idea is:
void setup()
{
    pinMode(2, OUTPUT);
}

void loop()
{
    digitalWrite(2, HIGH);
    delay(1000);

    digitalWrite(2, LOW);
    delay(1000);
}
This program configures GPIO2 as an output, turns it on, waits one second, turns it off, and waits another second.
What happens during upload?
When you click Upload, Arduino IDE compiles your sketch into firmware. Then it sends that firmware through USB serial to the ESP32 bootloader. The bootloader writes the program into flash memory.
After upload, the ESP32 resets and starts running your new program.
This process is the foundation of every project in the series.
Common upload problems
If the upload fails, check these issues first:
- Wrong serial port selected
- Charge-only USB cable
- Missing USB-to-serial driver
- Wrong board selected
- Board not entering bootloader mode
- Another program using the serial port
Some ESP32 boards require holding the BOOT button while the upload starts. If Arduino IDE shows a connection timeout, hold BOOT, click Upload, and release BOOT when the upload begins.
Why this first program matters
Blink is simple, but it proves several important things:
- The IDE is installed correctly
- The ESP32 board package works
- Your USB cable supports data
- Your computer can communicate with the board
- The ESP32 can run your firmware
Once this works, you are ready to control external hardware.
Next lesson
In the next lesson, we will move beyond the built-in LED and control an external LED using an ESP32 GPIO pin. That is where the series starts connecting software to real hardware.